
The display
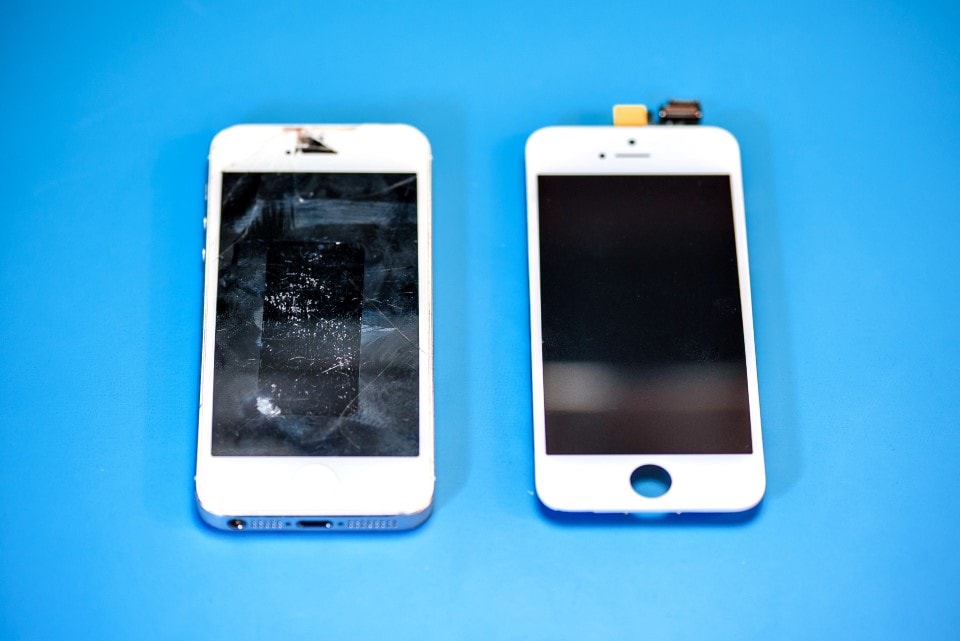
The iPhone 5 widescreen retina display was introduced in 2012 in a 4-inch size, with Multi-Touch technology.
The LCD display has a 1136x640 px resolution, 326 ppi panel, with oleophobic coating on the glass, to resist fingerprints. Thanks to the LCD panel, we can enjoy great image quality until the cover glass gets damaged. In this case, the whole module has to be replaced. This gets done quickly in our repair center, so clients can stay and wait it out.
The repair process
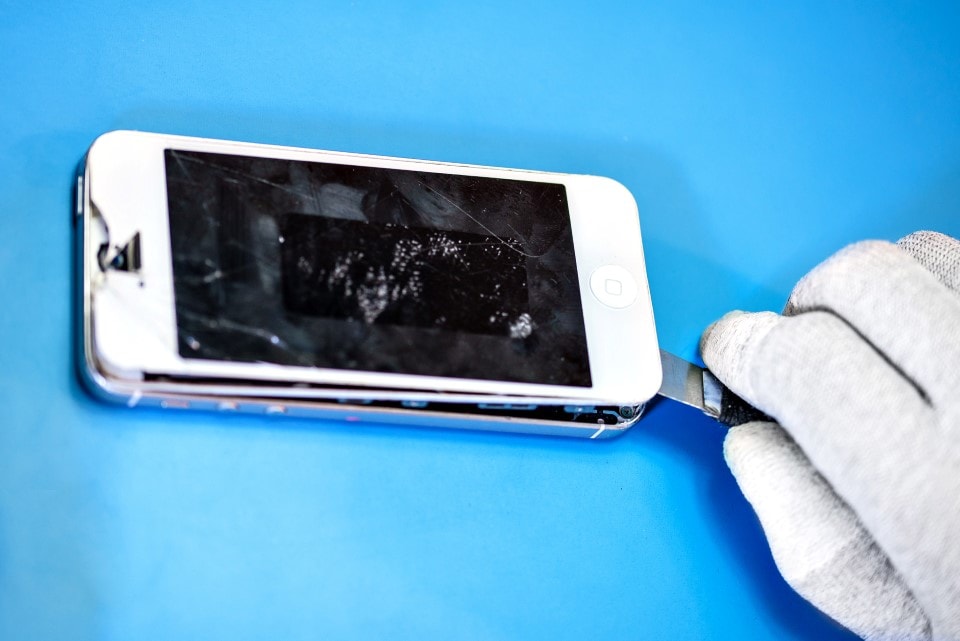
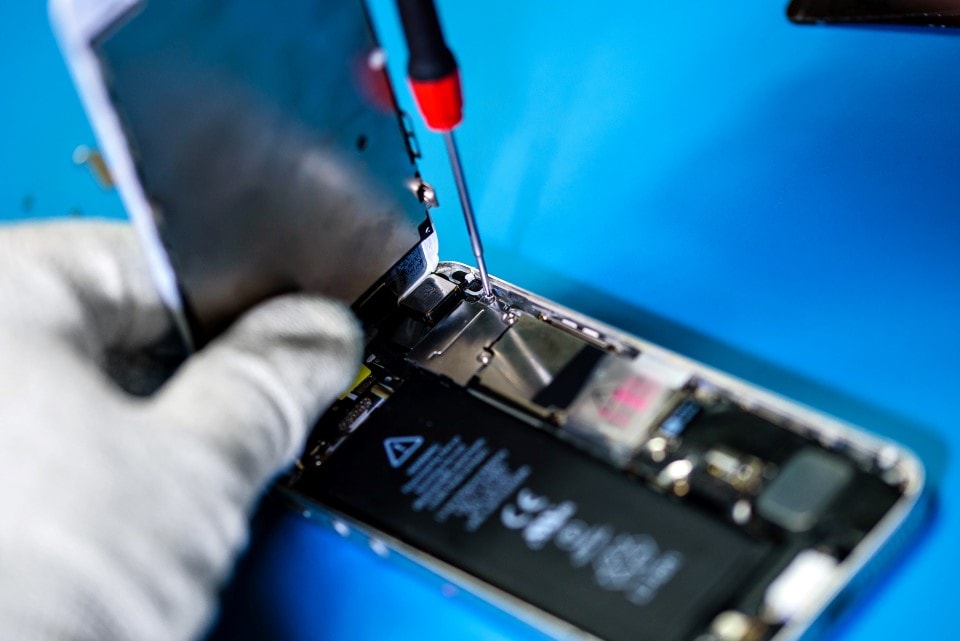
First, we turn off the iPhone 5. Next, we can remove the two 3.6 mm Pentalobe screws that are adjacent to the lightning connector. We lift up the display to a maximum 90 degrees - so we don't damage it's ribbon cable. We should never work with metal tools inside the case, only professional equipment fulfilling the ESD standard. The cover plate of the battery is held down by one 2.2 mm and one 3.2 mm Phillips screw. The next step is to remove the battery cover plate in the inside of the phone, to be able to fully power off the device. It's fixed in place by two screws, one conical shaped and one smaller metric screw.
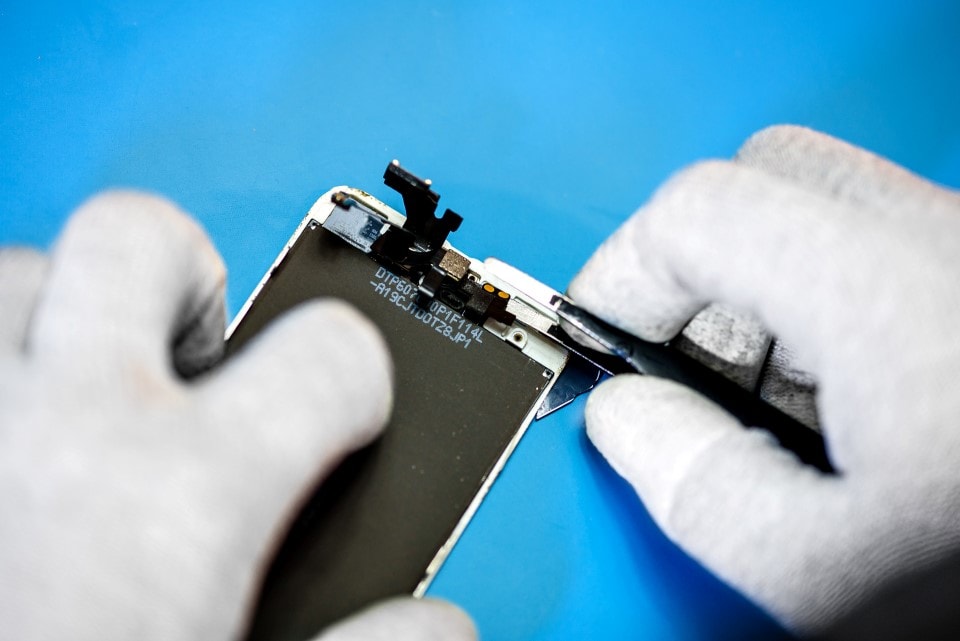
After that, we remove the plate and very carefully disconnect the battery connector from the logic board. Next, we can start to disassemble the front panel, remove the cover plates and ribbon cable. For the next 3 screws, the order in which we remove them is important, especially because of a non-magnetic screw, which has to go into it's proper place. After we remove the screws, cover panels and connectors, the display module can be disconnected. Following this, we can start to remove the ribbon cables found on the display module, prior to transferring them to the new one.
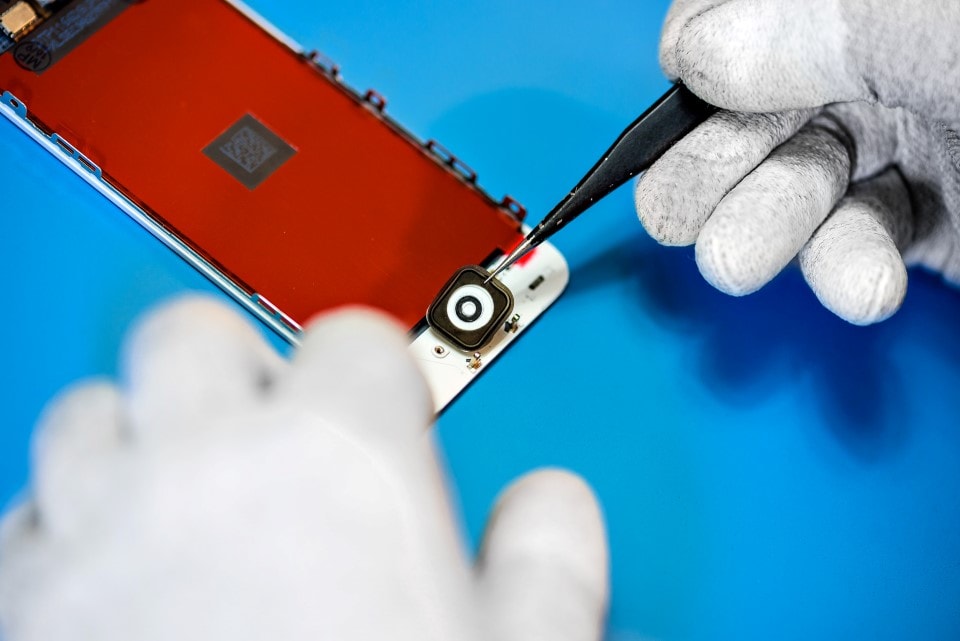
The sensor ribbon cable, which is responsible for the functioning of the front camera, earpiece speaker, proximity sensor and front microphone can be found on top of the display. We have to be careful to position screw appropriately here too, because small mistakes can cause serious damage.
A kijelző alján található home gomb szalagkábelét szintén egy lemez és két kúpos csavar rögzíti az előlaphoz, melyek eltávolítása után a műanyag gombot tartó gumi membránt is el kell távolítani. A gumi membránt minden esetben cseréljük a megfelelő nyomáspont érdekében.

After we remove both ribbon cables, the only thing left during disassembly is to remove the cover plate, which is fixed in place from the sides by two 1.2 mm screws, from the top by one 2.6 mm screw, and from the bottom by a 1.4 mm screw.
The last step in the repair is to reassemble the iPhone in the reverse order, being careful with the positioning of screws and parts.
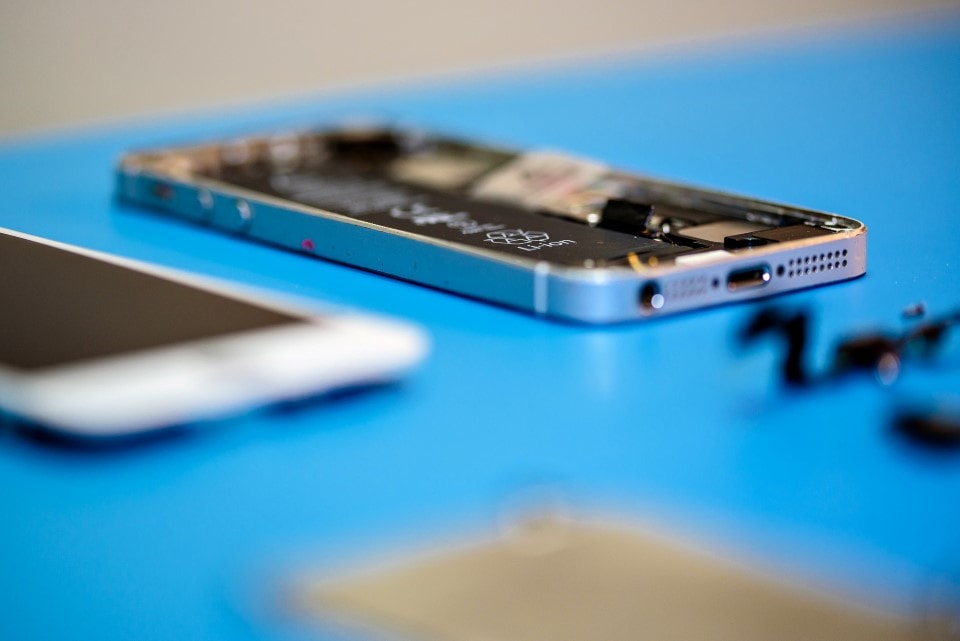
Usually the back case of the iPhone is also damaged or deformed, not just the front panel, which in these cases also needs to be repaired to ensure the appropriate seal between the display and the back case. If we are unable to repair the back case, it needs to be replaced.