
Display construction
The iPhone 6s has two important improvements:
a Gorilla Glass glass cover is replaced by the Ion-X glass panel
and it has the pressure sensitive 3D Touch technology
The Ion-X technology is almost as hard, as sapphire glass, but it's much lighter and it is better for transmitting light. The 3D Touch technology gives the user immediate access to apps that are optimised for it, so it's not always necessary to open the app itself (it senses the pressure applied to the display).

The LCD is the same as the previous one, a Retina HD display, with the following specs:
4.7" widescreen size,
1334x750 px, 326 ppi,
16 million colour depth.
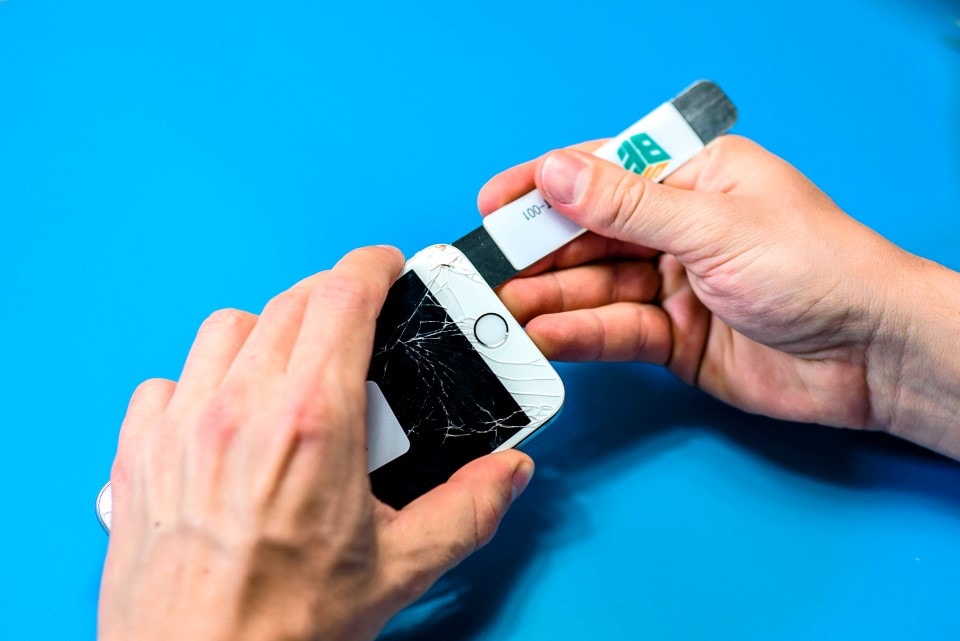
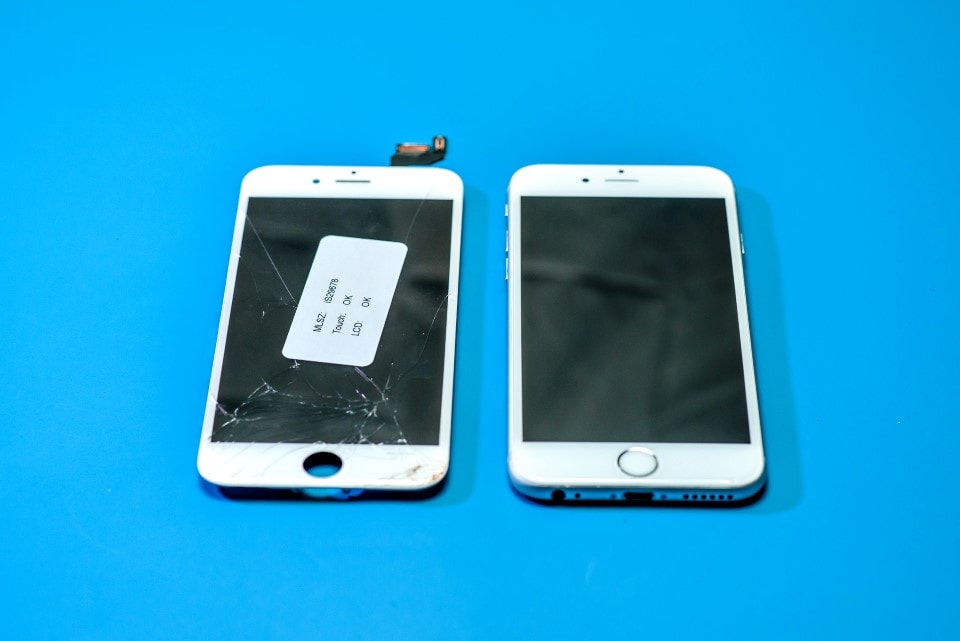
We can enjoy the well-known capacitive multi-touch technology with our iPhone 6S display. The strengthened glass and case design doesn't make the device resistant to cracks or other damage, which require a complete replacement of the display. Replacing the display module is an easy process for our trained staff, but it requires serious experience and training, so other parts of the device don't get damaged during the repair. The repair gets done quickly in our service center, so clients can stay and wait it out. We only use the specified, high quality panels for repairs.
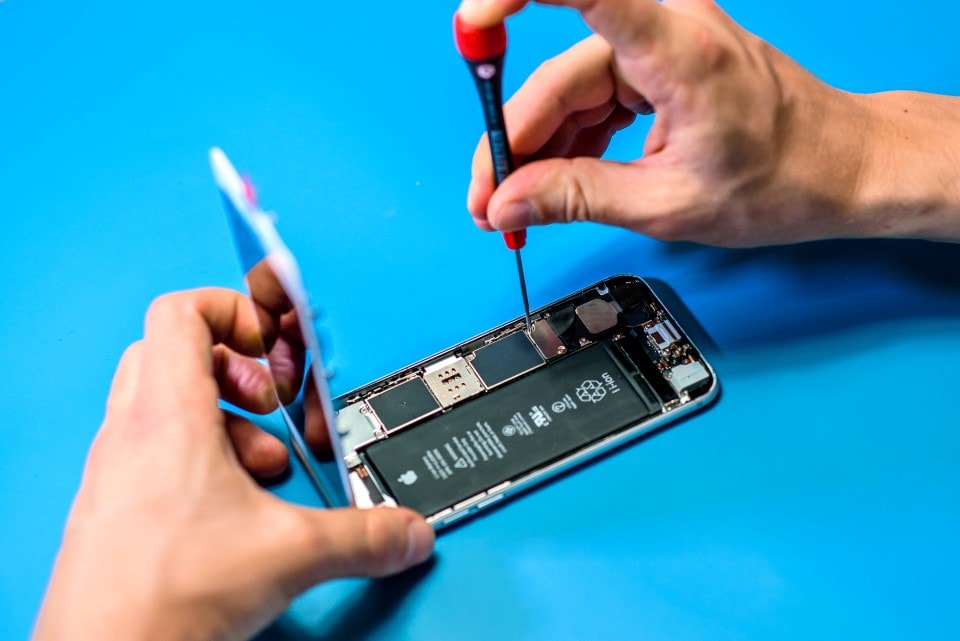
The repair process
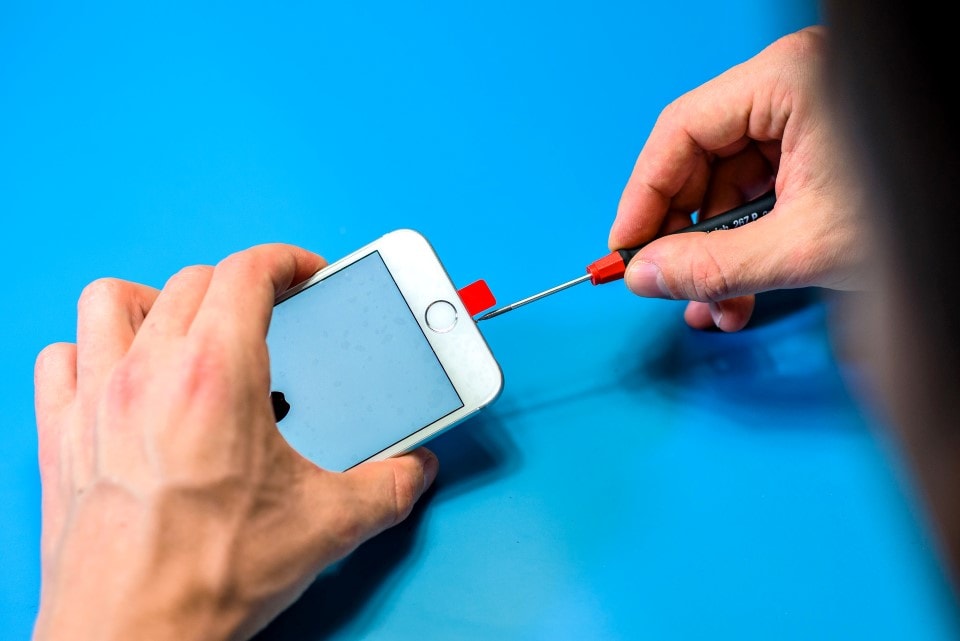
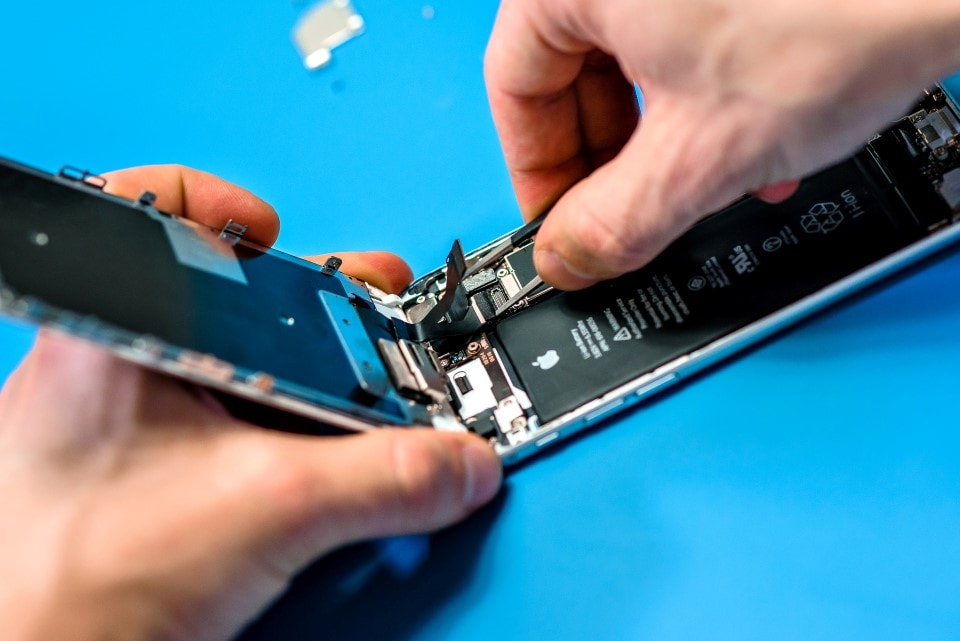
First, as with all repairs, we turn off the device. Next, we can remove the two 3.4 mm Pentalobe screws that are adjacent to the lightning connector, but as opposed to previous devices, the opening of the display doesn't happen immediately. The front panel of the iPhone 6s has another layer helping to fix it in place, which we have to peel of with the help of a plastic plectrum. This glue layer provides the perfect fit for the front panel, which we replace after every opening. The first step here is removing the cover plate from the battery, which is held down by one 2.9 mm and one 2.2 mm screw. We can find some inner changes compared to previous generations: connectors now have a sponge-like glue, which we have to take into account when removing and reconnecting connectors. We never use metal tools inside the case, only professional equipment fulfilling the ESD standard.
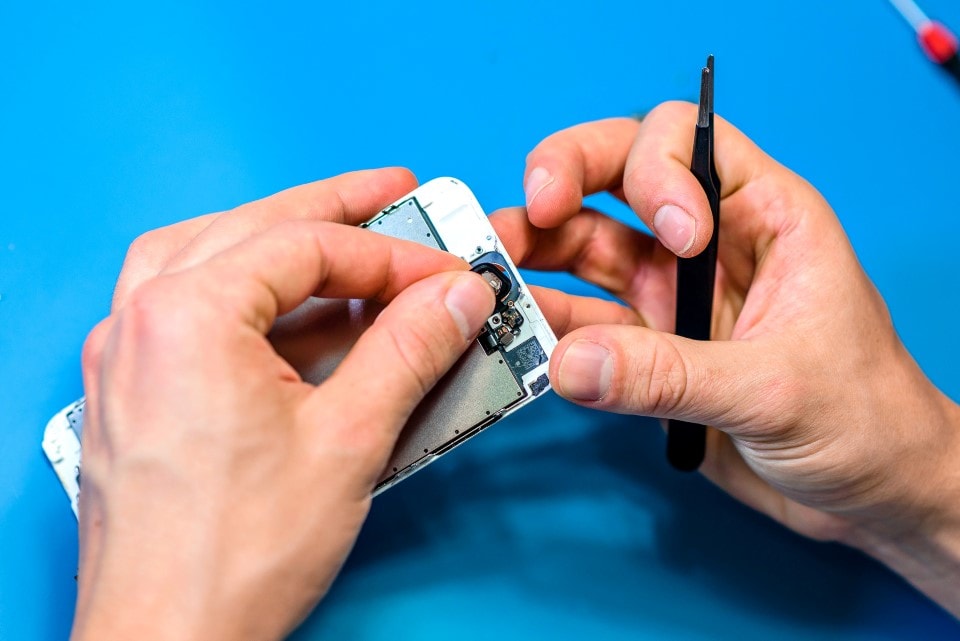
The next cover plate is situated on the upper part of the panel and is fixed by 4 screws. During the removal of the screws, one has to be careful about their orientation, so that they all go into the right place during reassembly. After we removed the screws and the cover plate, we can start to unplug the logic board connector cables (while being careful with the sponge-like glue seals). After that, we can disconnect the display from the rest of the iPhone, so we can start to disassemble it. The next step is to remove the home button ribbon cable, which is fixed in place by a cover plate and 3 screws. Following their removal, we can disconnect the home button ribbon cable connector, then with pushing in the rubber membrane, we can separate the button itself from the display. It’s crucial that the we replace the home button rubber membrane after each repair to recreate the appropriate pressure point.
After that, we can remove the sensor ribbon cable and the earpiece speaker, which are fixed by a cover plate and 3 screws. After we unscrew the two 2.3 mm and one 1.3 mm screws, we can access the plate. We can carefully remove the plate, where an adhesive strap surrounds the display electronics. Then we can round up the front camera and take out the earpiece speaker and the other parts of the ribbon cable. The front camera, proximity sensor, earpiece speaker connectors and the front microphone are all on the sensor ribbon cable. The next step is to remove the shading plate from the backplate, which is fixed in place by 2 screws on the two sides, which are 1.3 mm and 1.5 mm long respectively and are found next to the front camera. After removing the plate screws, we only have to remove the glue layer fixed to the display electronics, so that we can remove the plate from the display.
After we are ready with all of this, the whole process continues in a reversed order. Naturally, in our repair center, we replace all stickers, rubber membranes and glue layers during the reassembly process.
It’s a frequent occurrence, that the back case of the iPhone is also damaged or deformed, which in these cases also needs to be repaired to ensure the appropriate seal between the display and the back case. If we are unable to repair the back case, it needs to be replaced.